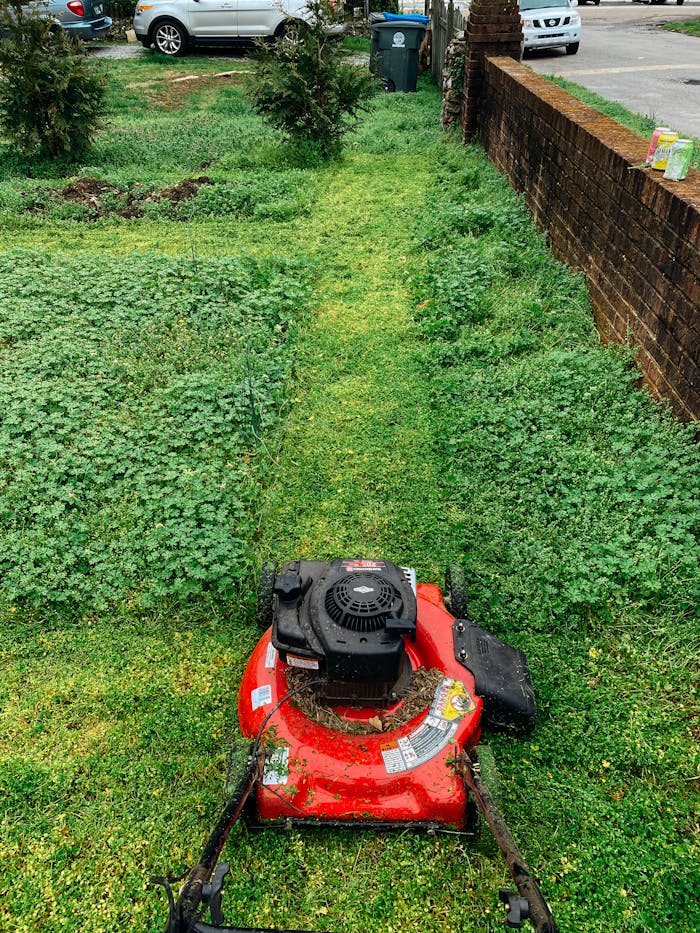
A well-maintained lawn mower is the unsung hero of a beautiful yard. Yet, like any hardworking machine, it’s prone to hiccups, breakdowns, and frustrating performance issues. Before you resign yourself to expensive professional repairs or rush out to buy a replacement, consider this: a significant percentage of common lawn mower problems are well within the capabilities of a motivated homeowner to diagnose and fix. Armed with some basic knowledge, common tools, and safety awareness, you can conquer many mower maladies yourself, saving substantial money and gaining the satisfaction of self-reliance. This guide delves into the essential aspects of DIY lawn mower repair.
Safety First: The Non-Negotiable Foundation
Before you lay a finger on your mower for anything beyond fueling or basic cleaning, safety must be your absolute priority. Ignoring this can lead to severe injury.
- Disconnect the Spark Plug: This is the single most important step for any repair involving the blade, deck, or engine. It physically prevents the engine from starting accidentally, even if the ignition switch is faulty or bumped. Remove the spark plug wire and keep it safely away from the plug. Do this EVERY time.
- Drain the Fuel (When Necessary): For major repairs, carburetor work, or long-term storage prep, drain the fuel tank and run the engine until it stalls to empty the carburetor bowl. Gasoline is highly flammable; work in a well-ventilated area away from sparks or flames. Use a siphon pump or approved container.
- Secure the Machine: Ensure the mower is on a level, stable surface. If you need to tip it, always tip it onto its side with the air filter and carburetor facing UP to prevent oil flooding into these components. Never tip it onto the muffler side. Use blocks if needed.
- Mind the Blade: Even disconnected, the blade is sharp. Wear heavy-duty gloves when handling it. When reinstalling, ensure it’s properly tightened and balanced (an unbalanced blade causes damaging vibrations).
- Protect Yourself: Wear safety glasses to shield your eyes from debris, dirt, and fluids. Gloves protect your hands. Closed-toe shoes are essential. Consider ear protection if testing the engine indoors.
Essential Tools for the Mower Mechanic
You don’t need a professional garage, but a basic toolkit is crucial:
- Socket Set & Wrenches: Standard sizes (often metric and SAE) for common nuts and bolts (spark plug, blade, deck bolts).
- Screwdrivers: Flathead and Phillips head in various sizes.
- Pliers: Needle-nose and slip-joint pliers.
- Spark Plug Socket: Specifically designed to fit spark plugs without damaging them.
- Wire Brush: For cleaning electrical contacts and corroded parts.
- Feeler Gauges: Essential for checking and setting spark plug gap.
- Carburetor Cleaner Spray: For cleaning jets and passages (use in a ventilated area!).
- Clean Rags: For wiping parts and soaking up spills.
- Small Container: For holding small parts like bolts and springs.
- Oil Drain Pan: For catching old engine oil during changes.
- Air Compressor (Optional but Helpful): For blowing out debris from the air filter housing, cooling fins, and deck.
Diagnosing Common Problems: Where to Start?
When your mower misbehaves, don’t panic. Methodically observe the symptoms:
- “It Won’t Start!” (The Most Common Cry):
- No Sound at All: Check the spark plug wire is connected. Verify the ignition switch/key is functional. Check safety interlocks (e.g., deadman handle on push mowers, seat switch on riders). Test the battery on riders (clean terminals, charge or replace).
- Engine Cranks but Doesn’t Fire:
- Fuel Issues: Is there fresh gas? Is the fuel shut-off valve (if present) open? Is the fuel filter clogged? Could stale fuel have gummed up the carburetor? Check fuel flow from the tank line.
- Spark Issues: Remove the spark plug, reconnect the wire, ground the plug’s metal body against the engine block (carefully!), and pull the cord (or crank). Look for a strong blue spark. No spark? Check/replace plug, check plug wire, ignition coil failure (less common DIY).
- Air Issues: Is the air filter clogged? A dirty filter chokes the engine. Remove and inspect/replace.
- Starts Briefly Then Dies: Classic sign of a clogged carburetor jet (especially if it sat with old gas), restricted fuel flow (filter, line), or a failing ignition coil once hot.
- “It Runs Rough or Lacks Power!”
- Dirty Air Filter: Restricts air, causing a rich (too much fuel) mixture and poor combustion. Clean or replace.
- Clogged Fuel Filter: Restricts fuel flow. Replace.
- Dirty/Clogged Carburetor: Stale fuel leaves varnish that blocks tiny fuel passages. May require cleaning or rebuilding kit.
- Fouled Spark Plug: Incorrect gap, carbon buildup, or worn electrodes cause weak spark. Clean, re-gap, or replace.
- Dull or Damaged Blade: A bent or dull blade puts extra strain on the engine, making it bog down, especially in thick grass. Sharpen or replace.
- Old/Degraded Engine Oil: Thick, dirty oil increases friction. Change it!
- Dirty Cooling Fins: Grass clippings packed around the engine block prevent cooling, causing overheating and power loss. Clean thoroughly.
- “It’s Cutting Unevenly or Scalping the Lawn!”
- Dull or Damaged Blade: The primary culprit. A dull blade tears grass instead of cutting cleanly, leading to brown tips and uneven height. A bent blade creates an uneven deck height. Sharpen or replace.
- Uneven Deck Height: Check tire pressures (on riders) or adjust the height levers on push mowers so they are even on all sides.
- Deck Clogged with Grass: Underside buildup prevents proper grass ejection and airflow, affecting cut quality. Clean after every use, especially when grass is damp.
- Bent Deck or Spindle Housing: Significant impact damage can warp the deck. May require professional assessment.
- “It’s Making Strange Noises or Vibrating!”
- Loose or Damaged Blade: Check blade tightness and balance. Replace bent or cracked blades immediately – they are dangerous and cause severe vibration.
- Debris Under Deck: A stick or rock caught between the blade and deck will cause loud banging. Disconnect spark plug and remove debris.
- Worn Mandrel/Spindle Bearings: The bearings that allow the blade to spin can wear out, causing grinding, howling noises, and vibration. Requires replacement of the spindle assembly.
- Loose Engine Mounts or Deck Bolts: Check and tighten all fasteners.
- Engine Knocking/Pinging: Serious internal issues (e.g., low oil, worn bearings). Often requires professional help.
Essential Maintenance: Prevention is Cheaper Than Repair
Regular care prevents most major breakdowns:
- Oil Changes: Change engine oil at least once per season, or per manufacturer’s hours (often 25-50 hours). Use the recommended type (SAE 30 is common for summer). Check oil level before every use.
- Air Filter Care: Clean foam filters with soapy water, rinse, dry, and lightly oil. Replace paper filters when dirty. Check monthly during peak season.
- Spark Plug: Inspect annually. Clean, re-gap (check manual for spec, often .030″), or replace. A $3 plug prevents a lot of headaches.
- Sharpen the Blade: Sharpen at least 1-2 times per season, more if you hit debris. Balance it after sharpening (use a blade balancer).
- Clean the Undercarriage: Hose off or scrape away grass clippings after every mowing. Prevents corrosion and clogs.
- Fuel Management:
- Use fresh, stabilized fuel (ethanol-free is best if available).
- Add fuel stabilizer to the tank at the end of the season and run the engine for 5 mins to circulate it through the carburetor.
- Either drain the fuel system completely for winter storage or use stabilized fuel and run it dry.
- Check Belts and Cables (Riders): Inspect drive belts for cracks and tension. Check control cables for smooth operation. Lubricate linkages as per manual.
Knowing Your Limits: When to Call the Pros
While many repairs are DIY-friendly, recognize when it’s time for expert help:
- Major Engine Work: Internal engine repairs (piston rings, valves, crankshafts) require specialized tools and knowledge.
- Complex Carburetor Issues: While some cleaning is DIY, intricate rebuilds or replacements on modern carbs can be tricky.
- Hydraulic System Problems (Riders): Seals and pumps require specific expertise.
- Electrical Gremlins (Beyond Spark Plug/Ignition Coil): Diagnosing complex wiring faults can be frustrating without schematics and meters.
- Transmission Issues (Riders): Gearbox or hydrostatic transmission repairs are complex.
- Structural Welding: Repairing cracked frames or decks.
The Rewards of DIY Repair
Tackling your own lawn mower repair isn’t just about saving money (which can be significant – a simple $20 carburetor kit vs. a $150+ shop bill). It’s about empowerment, understanding, and self-reliance. You learn how your machine works. You gain the confidence to troubleshoot other equipment. You keep a functional mower out of the landfill. And there’s a unique satisfaction in hearing that engine roar back to life after your own efforts.
Start small – change the oil, clean the air filter, sharpen the blade. Build your skills and confidence gradually. Consult your owner’s manual religiously – it’s your specific mower’s bible. Numerous online resources, forums, and video tutorials offer invaluable guidance. Invest in quality replacement parts. Most importantly, never compromise on safety.
By embracing DIY lawn mower repair and maintenance, you transform from a frustrated owner into a capable mechanic, ensuring your trusty machine keeps your lawn looking its best for seasons to come. The grass really will be greener on your side!


